To wire a Hampton Bay ceiling fan switch with a purple, black, brown, and gray wire, you have to follow these steps:
- Access the circuit breaker to turn off the power reaching the ceiling fan to make sure you remain safe during the wiring process.
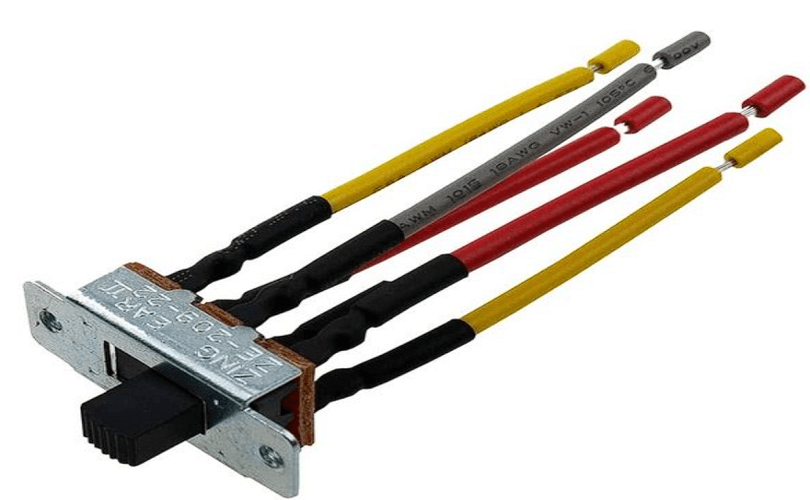
- Each wire has its function, identify it. generally, the black wire goes with the fan motor, the brown wire is for the fan motor speed control, the purple wire goes with the light kit and the gray wire goes with the fan light kit control.
- Make a connection between the terminal marked for the fan motor and the black wire, the brown wire to the motor speed control terminal, the purple wire to the terminal for the lighting kit, and the gray wire with the fan light kit control terminal on the light switch.
- For proper installation, follow the wiring instructions came with the Hampton bay ceiling fan switch. These instructions are very important to learn about the unique wiring settings limited to your fan model.
- After making the proper connections, tuck the wires back into the switch housing carefully and follow the manufacturer’s instructions to secure the switch in place.
- When you are done with wiring, go to the fuse box or circuit breaker to restore the electricity and check the fan and light to make sure they are running perfectly. If there is any issue, check the wiring again or go through the manufacturer’s instructions to get troubleshooting tips.
To get the proper guidance, you should always go through the specific instructions provided with the Hampton Bay ceiling fan switch. If you are not confident with the electrical wiring, you should get help from a certified electrician to get the job done without any mistakes.