Do you want to attach a light fixture to your Hampton Bay or Harbor Breeze ceiling fan? The first step is to find out and ask yourself that can I attach a light fixture to my ceiling fan? This is a question that many site visitors do ask, it is a very good question.
We’ll guide you through the steps to understand and determine if you can attach a lighting fixture to your fan and proceed with the attachment if it’s appropriate.
The first step is to find out whether your ceiling fan can accommodate a light fixture. Start by turning off the power to the fan. This is a standard safety practice before any lighting-related project in your home. To do this effectively, switch off the power at the source, typically the circuit breaker or fuse panel box, usually located in the basement. If you’re not sure about which breaker to turn off, you can consider shutting off the power to the entire panel temporarily. Your refrigerated items will remain unaffected for about 20 minutes or so.
The next step in determining whether you can attach a light fixture to your ceiling fan is to inspect the bottom of the fan for a housing cap. Look at the middle of the ceiling fan to see if there is a housing cap where the light kit can be attached. To get a better view, you may need to remove any screws, decorative base covers, or similar components.
You need to keep in mind that not all ceiling fans are designed to accommodate light kit attachments, but many on the market are built with this feature in mind. If you do not find any housing assembly or removable parts at the center, it indicates that your fan cannot support a light kit. Look for a housing cover, which may be concealed by a cover or other elements. If, after thorough inspection, you find no such cover or hidden components, then unfortunately, your ceiling fan cannot be fitted with a light kit.
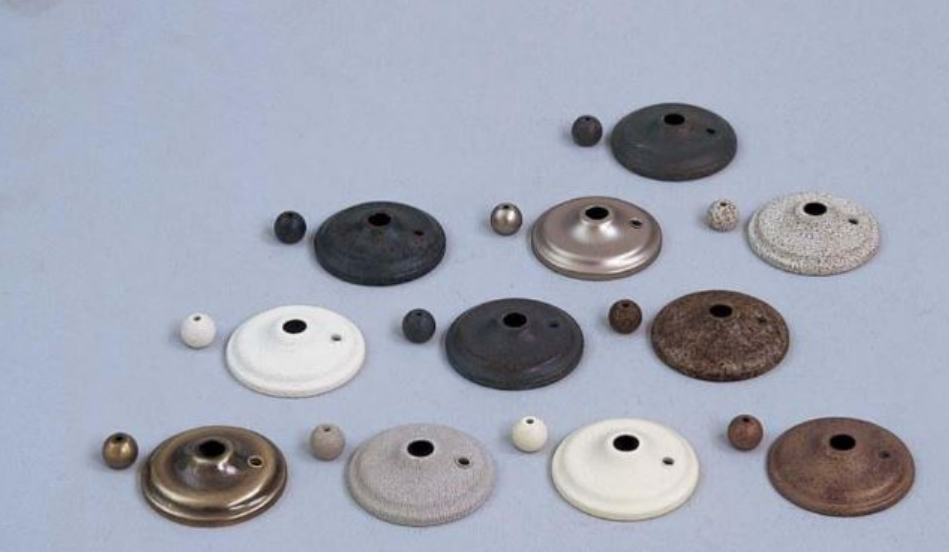
Here is an example of what a ceiling fan housing cap looks like:
If your Hampton Bay ceiling fan has a spot for attaching lighting, the next step is to inspect the wiring for the fan light. Look for wires that are specifically labeled for the light assembly. These wires might have been previously capped off, indicating that they are intended for connecting to a fan light.
The essential wire colors you’ll need for wiring the light attachment are as follows:
- Black – Generally used for the power connection to the light
- White – The neutral wire
If you notice any wires labeled for lighting power, this is a positive sign that you’ll be able to attach a light fixture to your ceiling fan.
After confirming the wiring, it’s time to measure the attachment point where the light fixture will connect to the ceiling fan. Once you remove any decorative plates or covers and have a clear view of the installation area, measure the diameter and take notes or create a diagram to mark the locations of the screw holes. This information will be helpful when sourcing a suitable light fixture to connect to your fan
By following these steps, you can figure out the chances of adding a light fixture to your Hampton Bay ceiling fan and proceed with the installation process more effectively.