Hampton Bay is a brand of ceiling fans and lighting and it is managed by Home Depot. They are available in a variety of colors as well as styles. The flush mount fan from Hampton Bay sits close to the ceiling and adds a sleek look. When it comes to changing a ceiling fan or installing a new lighting fixture, removing a Hampton Bay flush mount ceiling fan needs to be taken apart completely.
- Turn off the power from your breaker that sends power to your Hampton Bay ceiling fan. In order to take extra security, switch off the wall switch if the fan is installed with a wall switch. Place a step stool under the fan so you can access the top of the unit.
- Take down the light bulbs and globes by removing them if it comes with a light kit. Lighting fixtures with 4 open globes have three screws through the metal collar that carries the base of the globe in order to keep the secure to the kit. Use your hand to turn the screws counterclockwise and remove the globes.
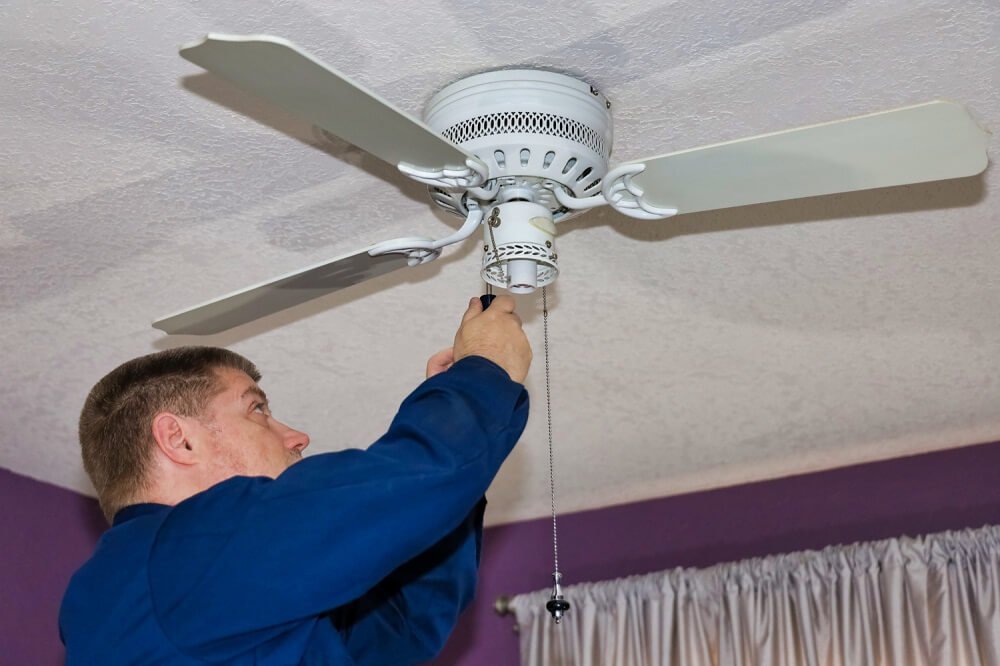
- Screws that are fastening the light kit to the fan, loose them using a Philips head screwdriver. Turn the body of the light kit counterclockwise and lower it gently to view the wires. Untwist the wire caps that secure the lighting wires to the ceiling fan and remove the lighting fixture.
- Use a Philips head screwdriver to unscrew the screws securing the ceiling fan blades to the motor. After taking down the blades, it will be less cumbersome to remove the rest of the unit.
- Locate the screws that are holding the canopy cover over the ceiling fan motor housing and they are 3-4 in number. Loose and remove them with the help of a screwdriver. Lower the canopy to take it away from housing.
- Get rid of the nuts holding the motor housing to the mounting bracket stud using a wrench. Lower the housing and secure one side on the mounting bracket’s hook. Move the plastic wire caps counterclockwise in order to release the ceiling fan motor wires from the house wires. Separate the wires and the next thing is to twist the caps on the ends of each house wire until you make up your mind to connect it to a new fixture.
- Detach the ceiling fan motor housing that is hooked with the mounting plate hook. Use a screw driver to loosen and remove the bolts that attach the mounting bracket to the ceiling junction box.